When launching a new or redesigned website, often DNS changes need to be made as part of the process. This task can be highly technical, so it’s best that a website professional complete them in order to minimize your new website’s downtime.
If you use GoDaddy as your registrar, you can grant access to a technical delegate that will allow them to make the necessary DNS changes, without having to give that person credentials to your GoDaddy account.
View the video below to see how, or read the complete transcript with screenshots below.
Transcript
In this video, I will demonstrate how to designate me—or anyone else you wish—as a technical delegate to your GoDaddy account. This will allow that person that you’ve delegated to assist you in managing your domain and DNS records that are hosted on GoDaddy without you having to send that person your account credentials.
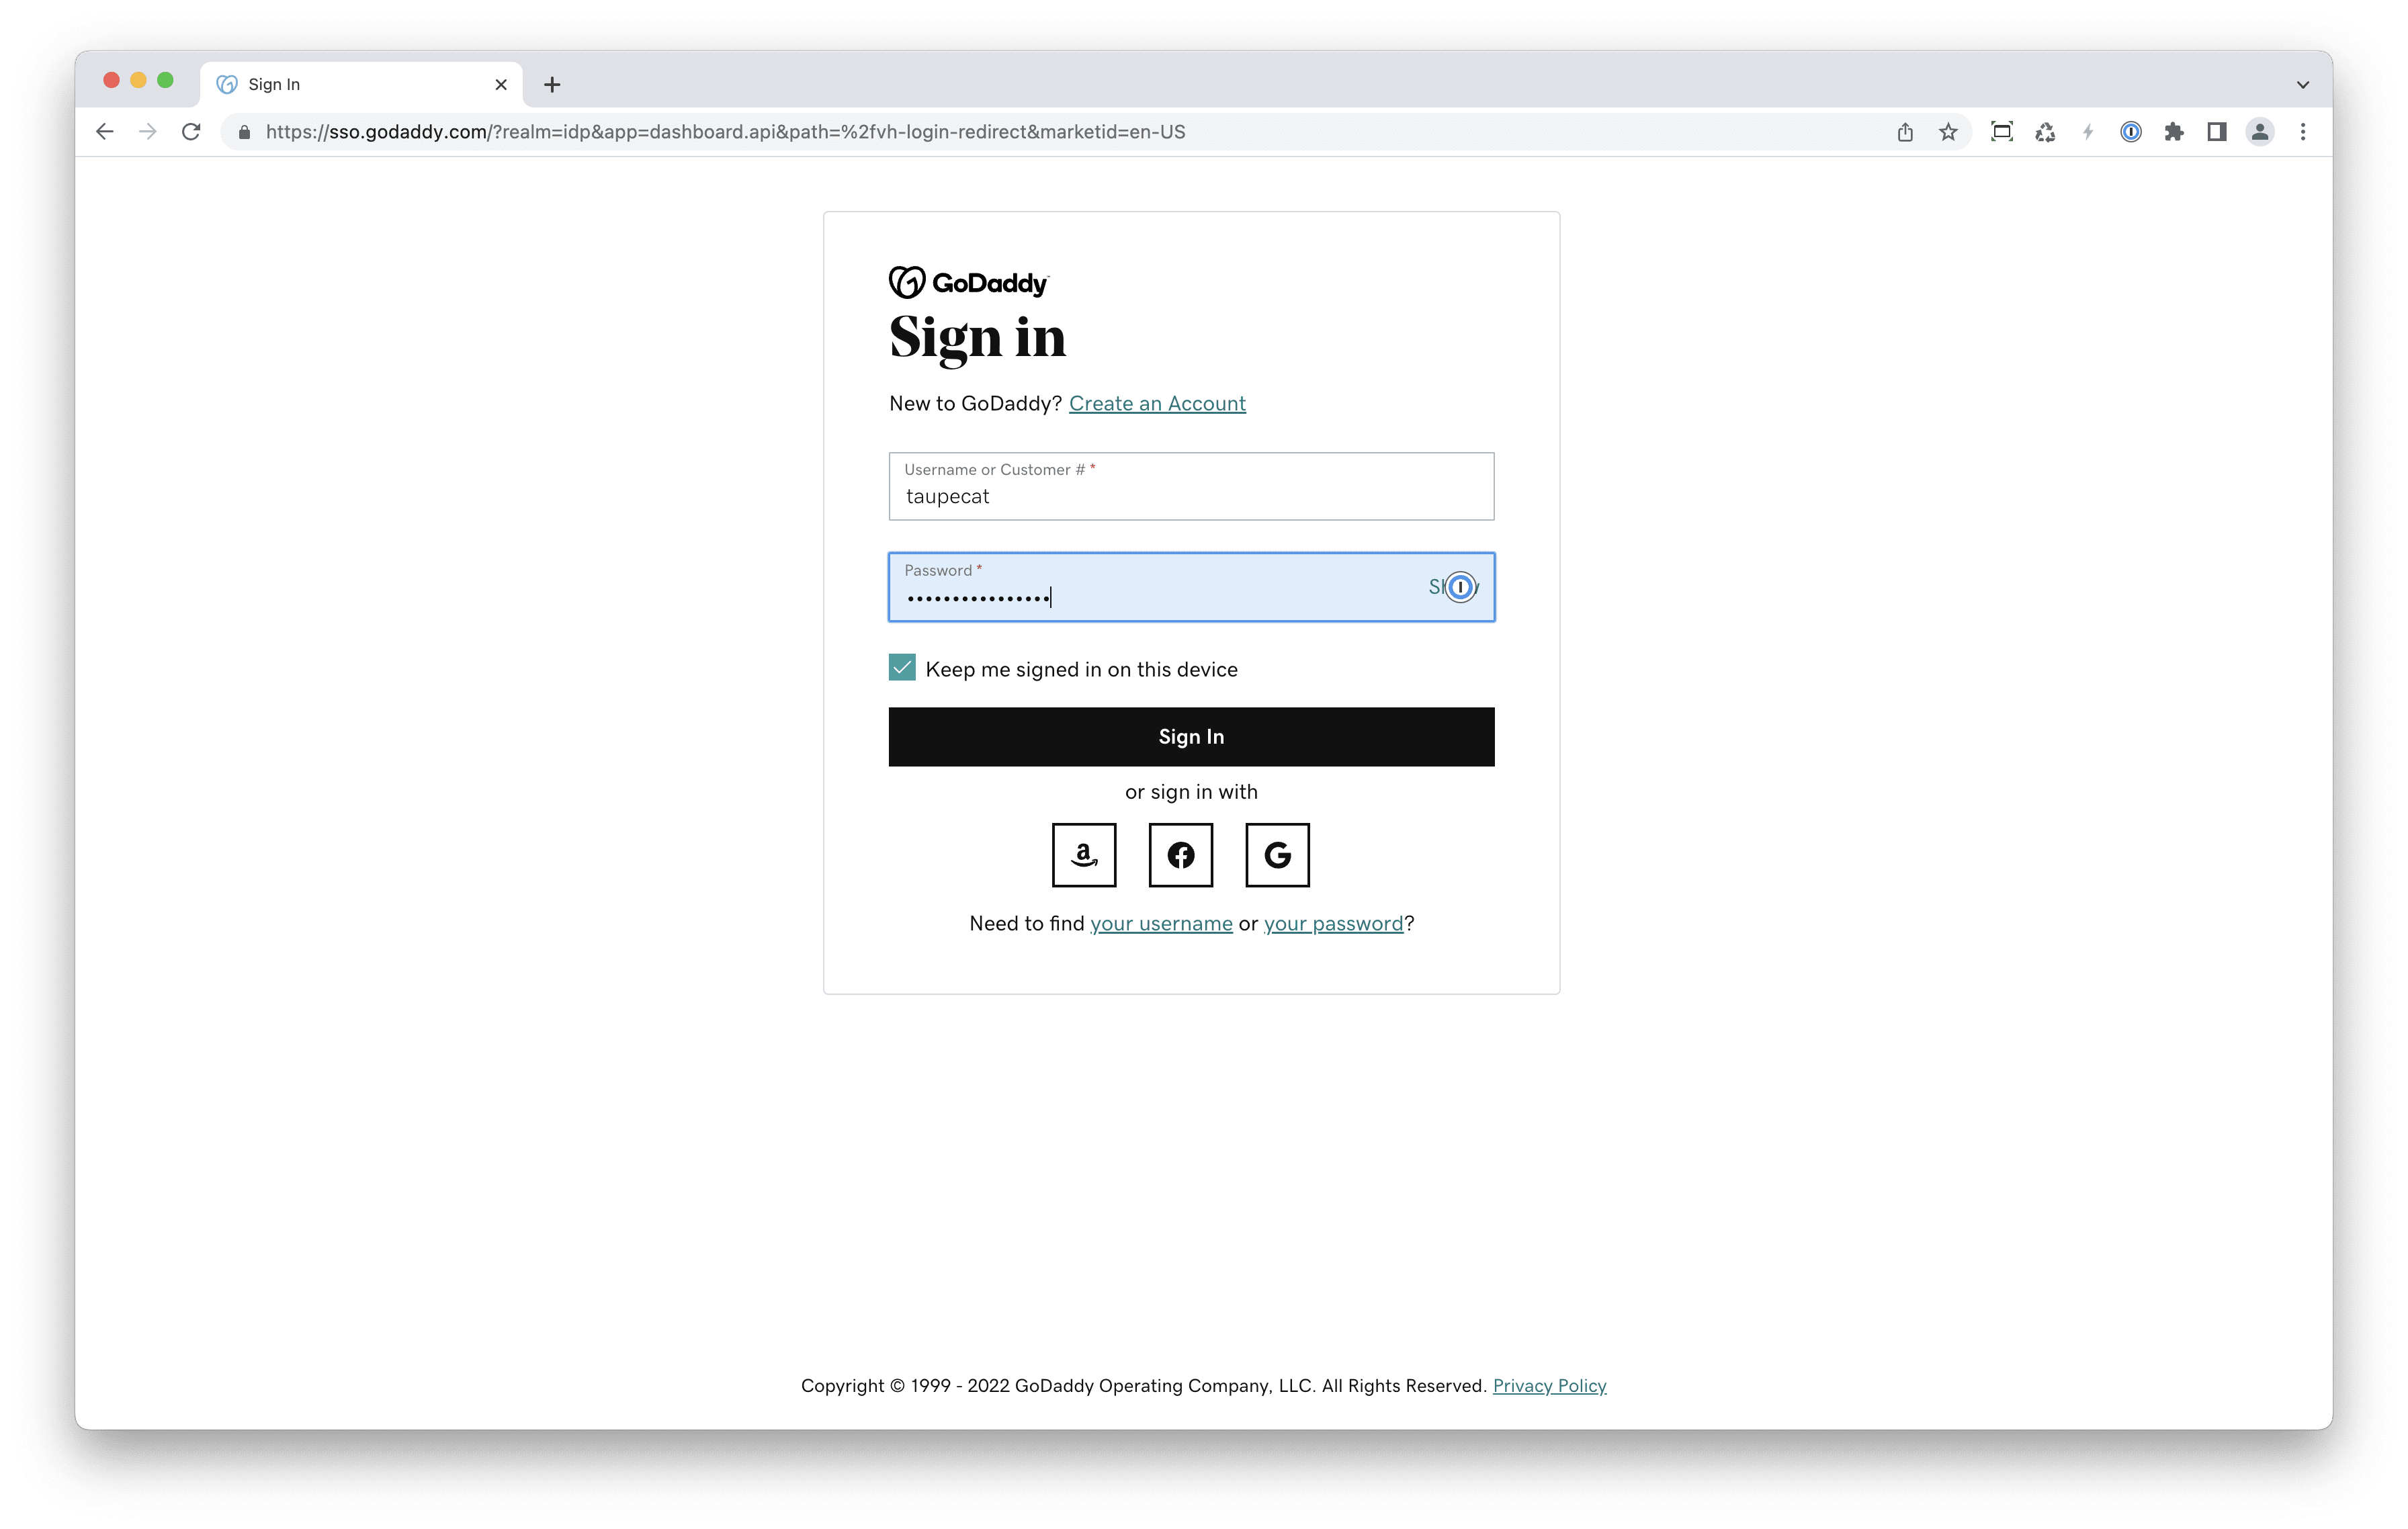
So first we’re going to log into GoDaddy:
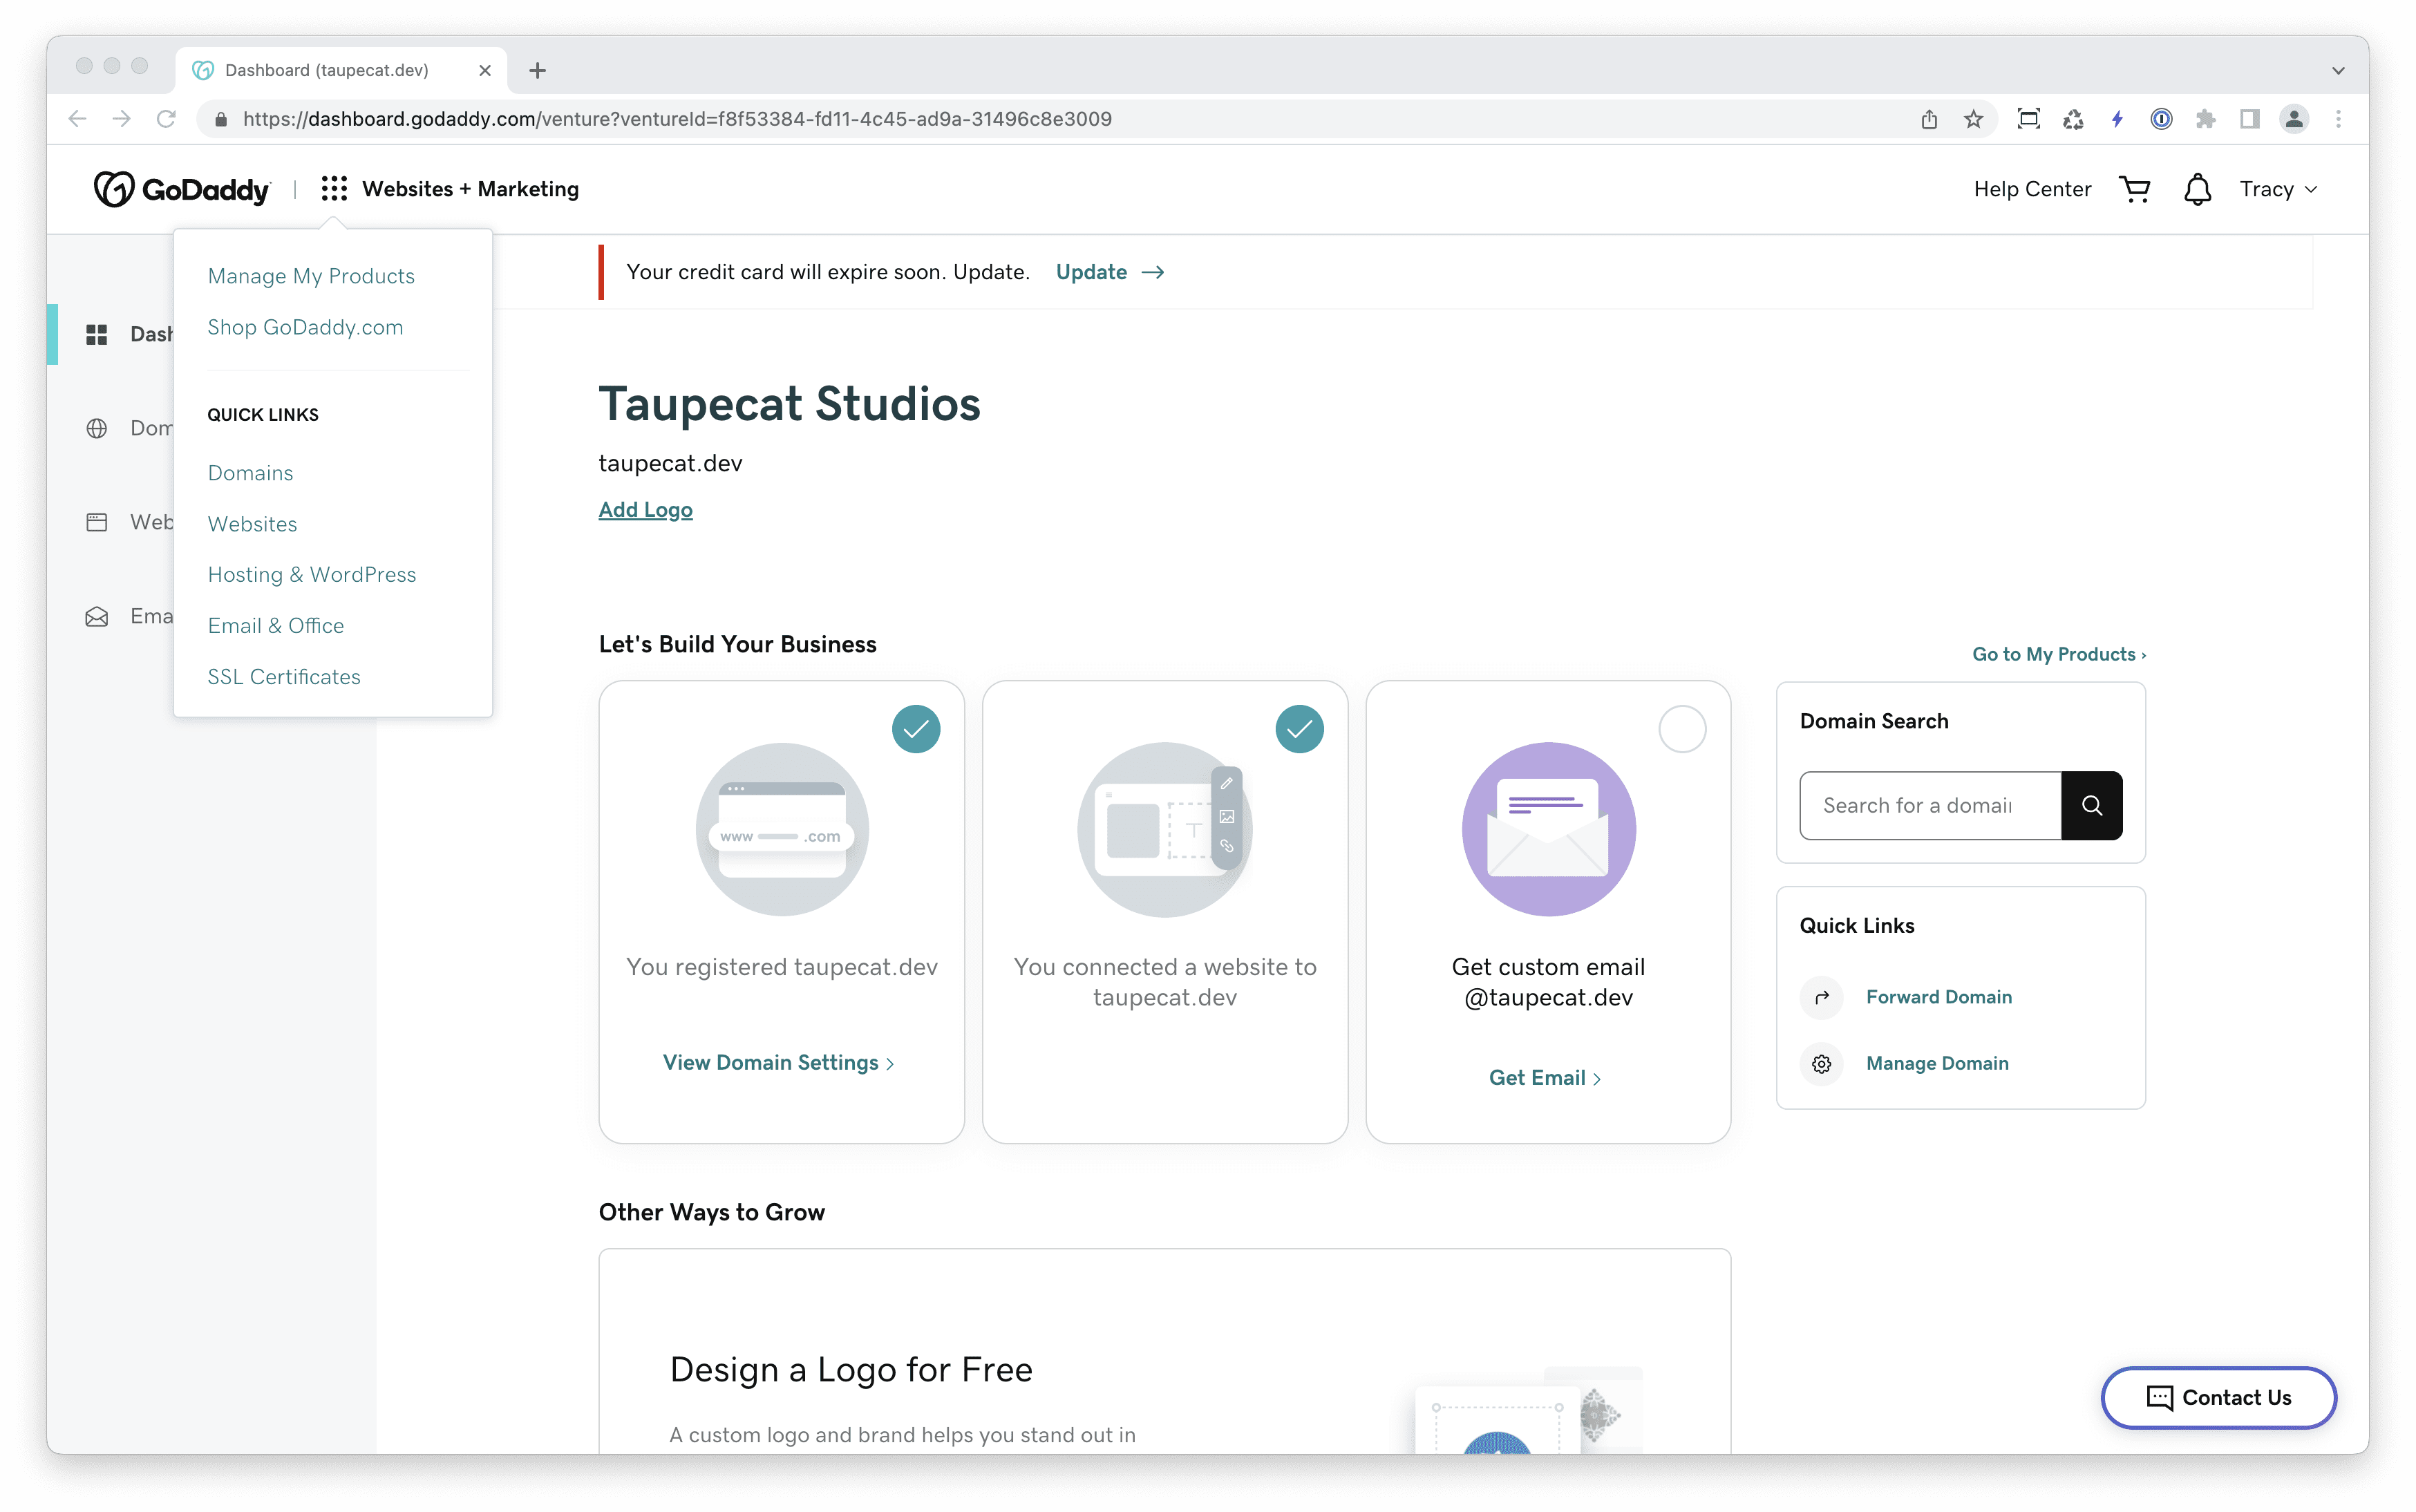
Once logged in, there are several ways of accessing the delegate access screen. We will get there by clicking on “Websites + Marketing”, and then “Manage My Products” at the top of the screen:
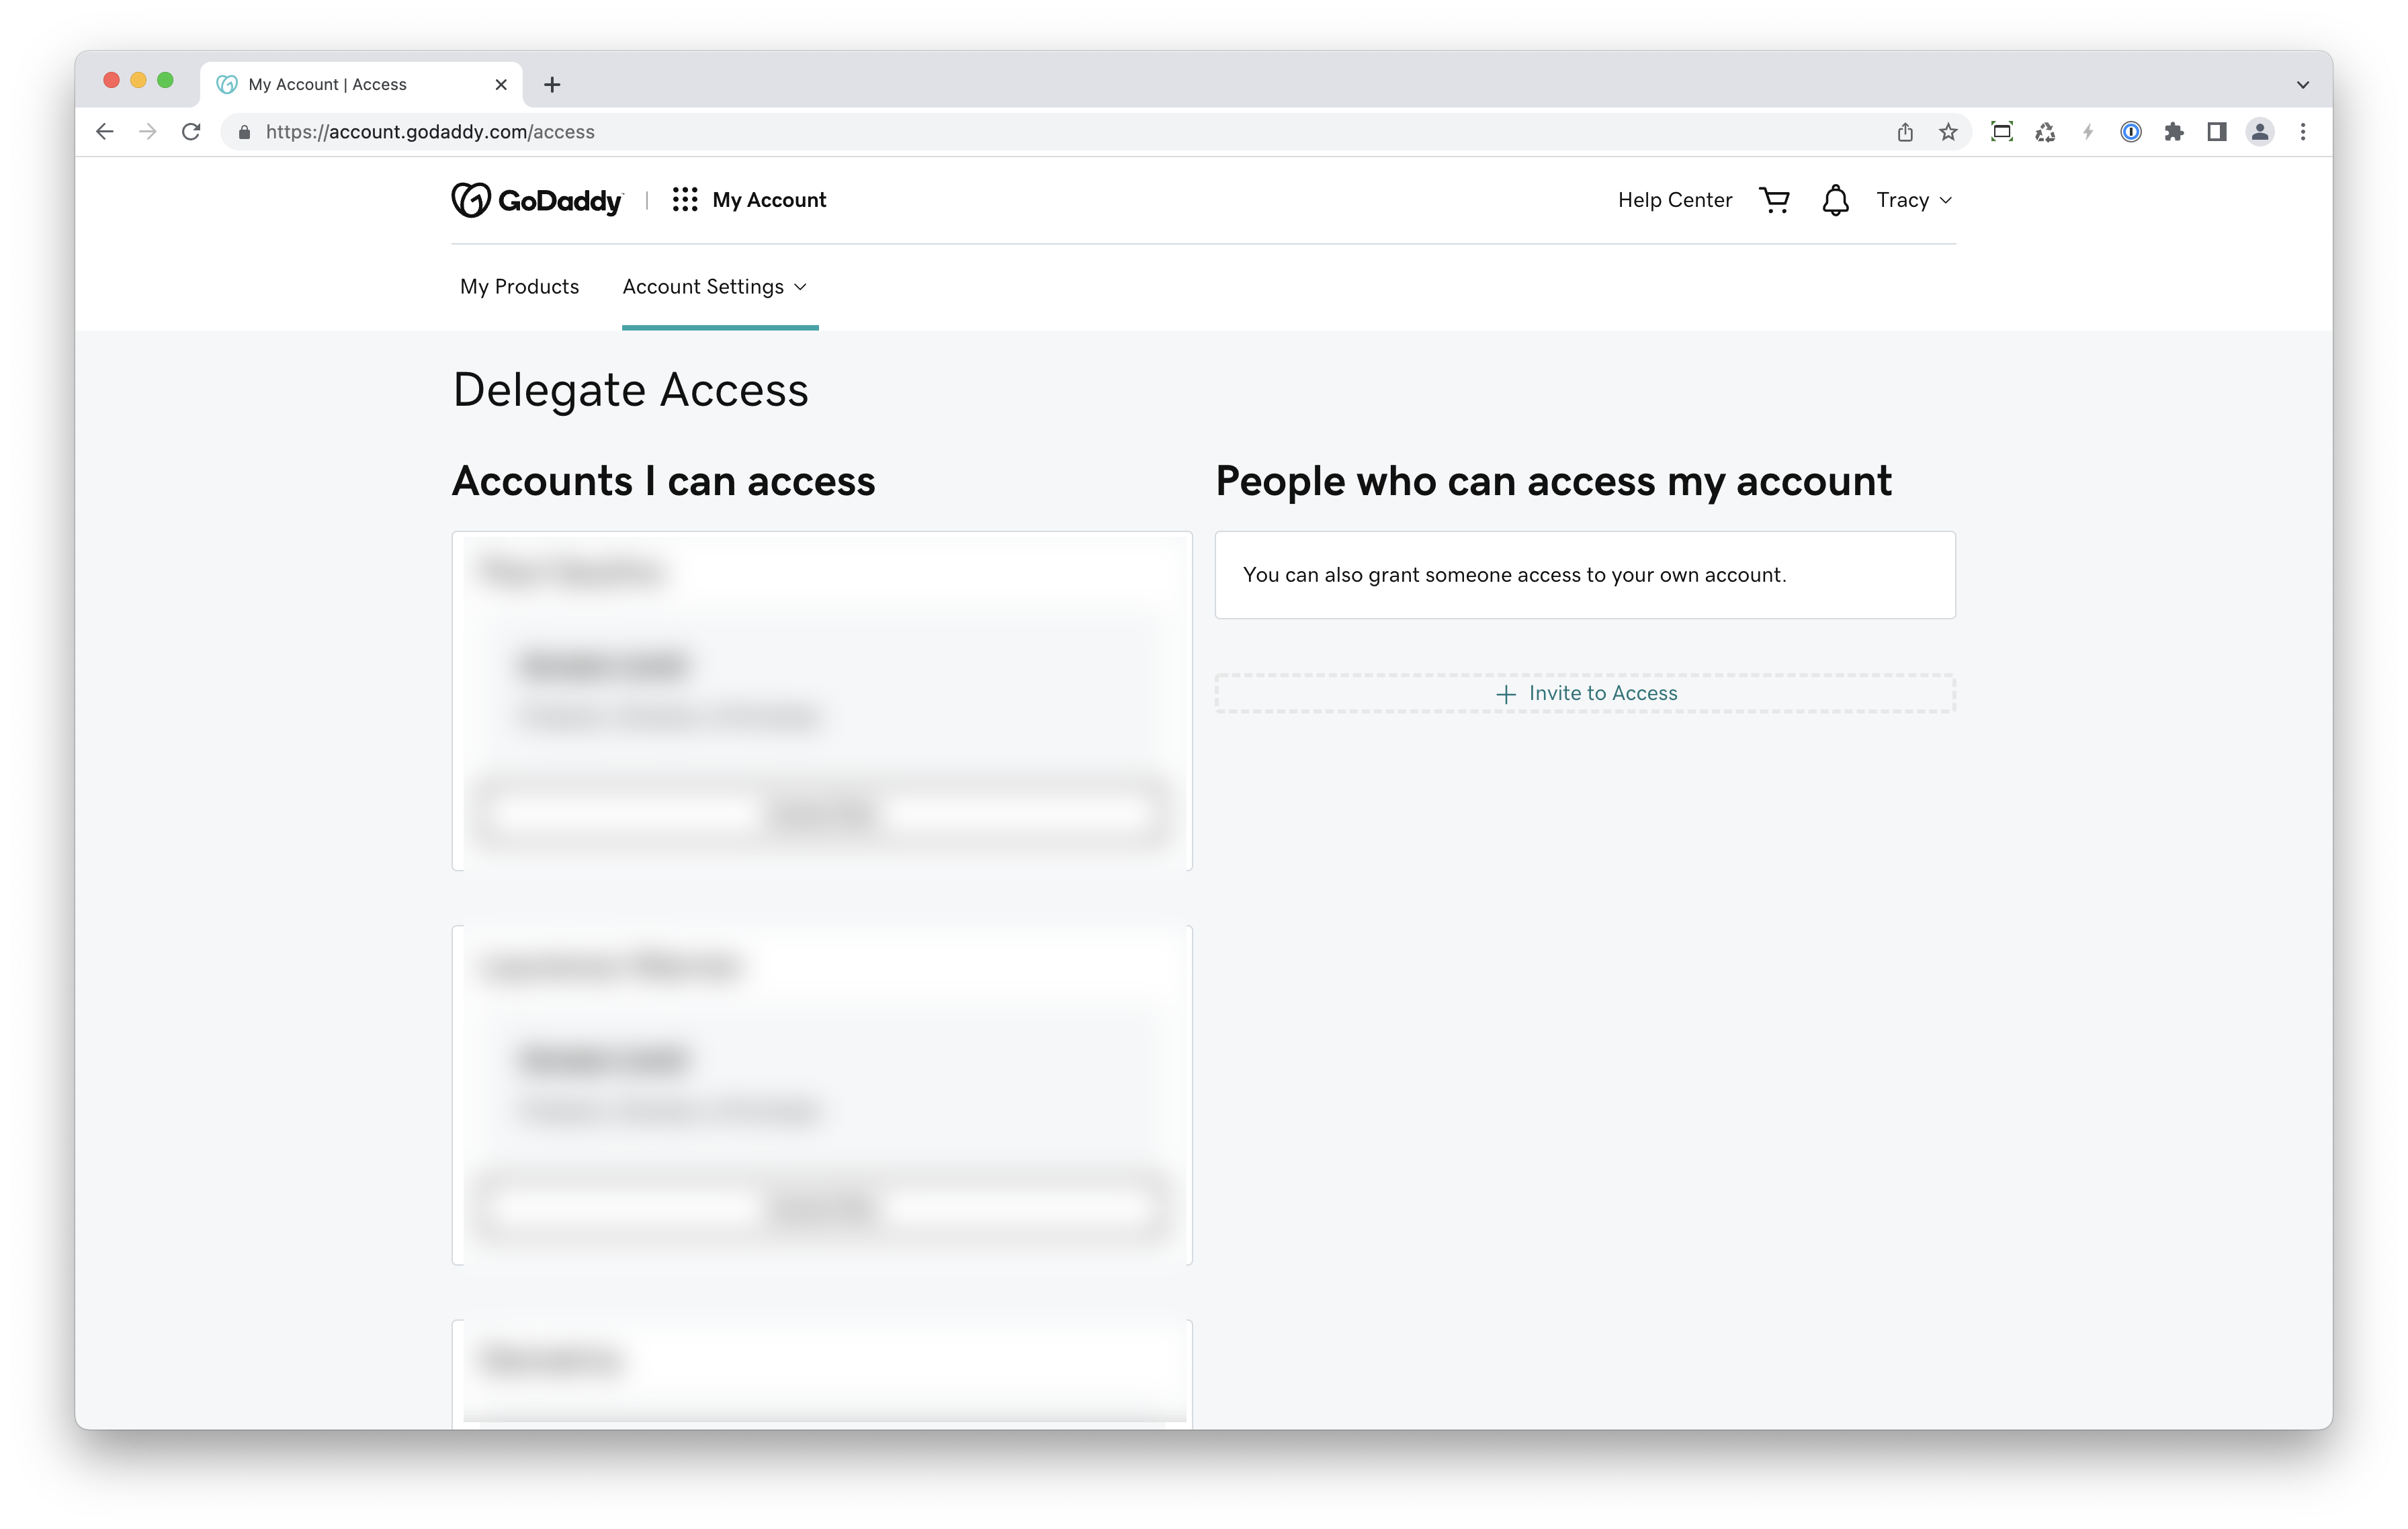
From there we will click on “Account Settings”, and then go down to “Delegate Access”. You will now see a screen with two columns: The column on the left displays accounts to which you have been granted access as a delegate, and the column on the right is a list of people who you have designated as delegates to your account.
In the right column, at the bottom, we’ll click the “+ Invite to Access” link. In this modal that pops up, fill in the information for the person to whom you want to grant access.
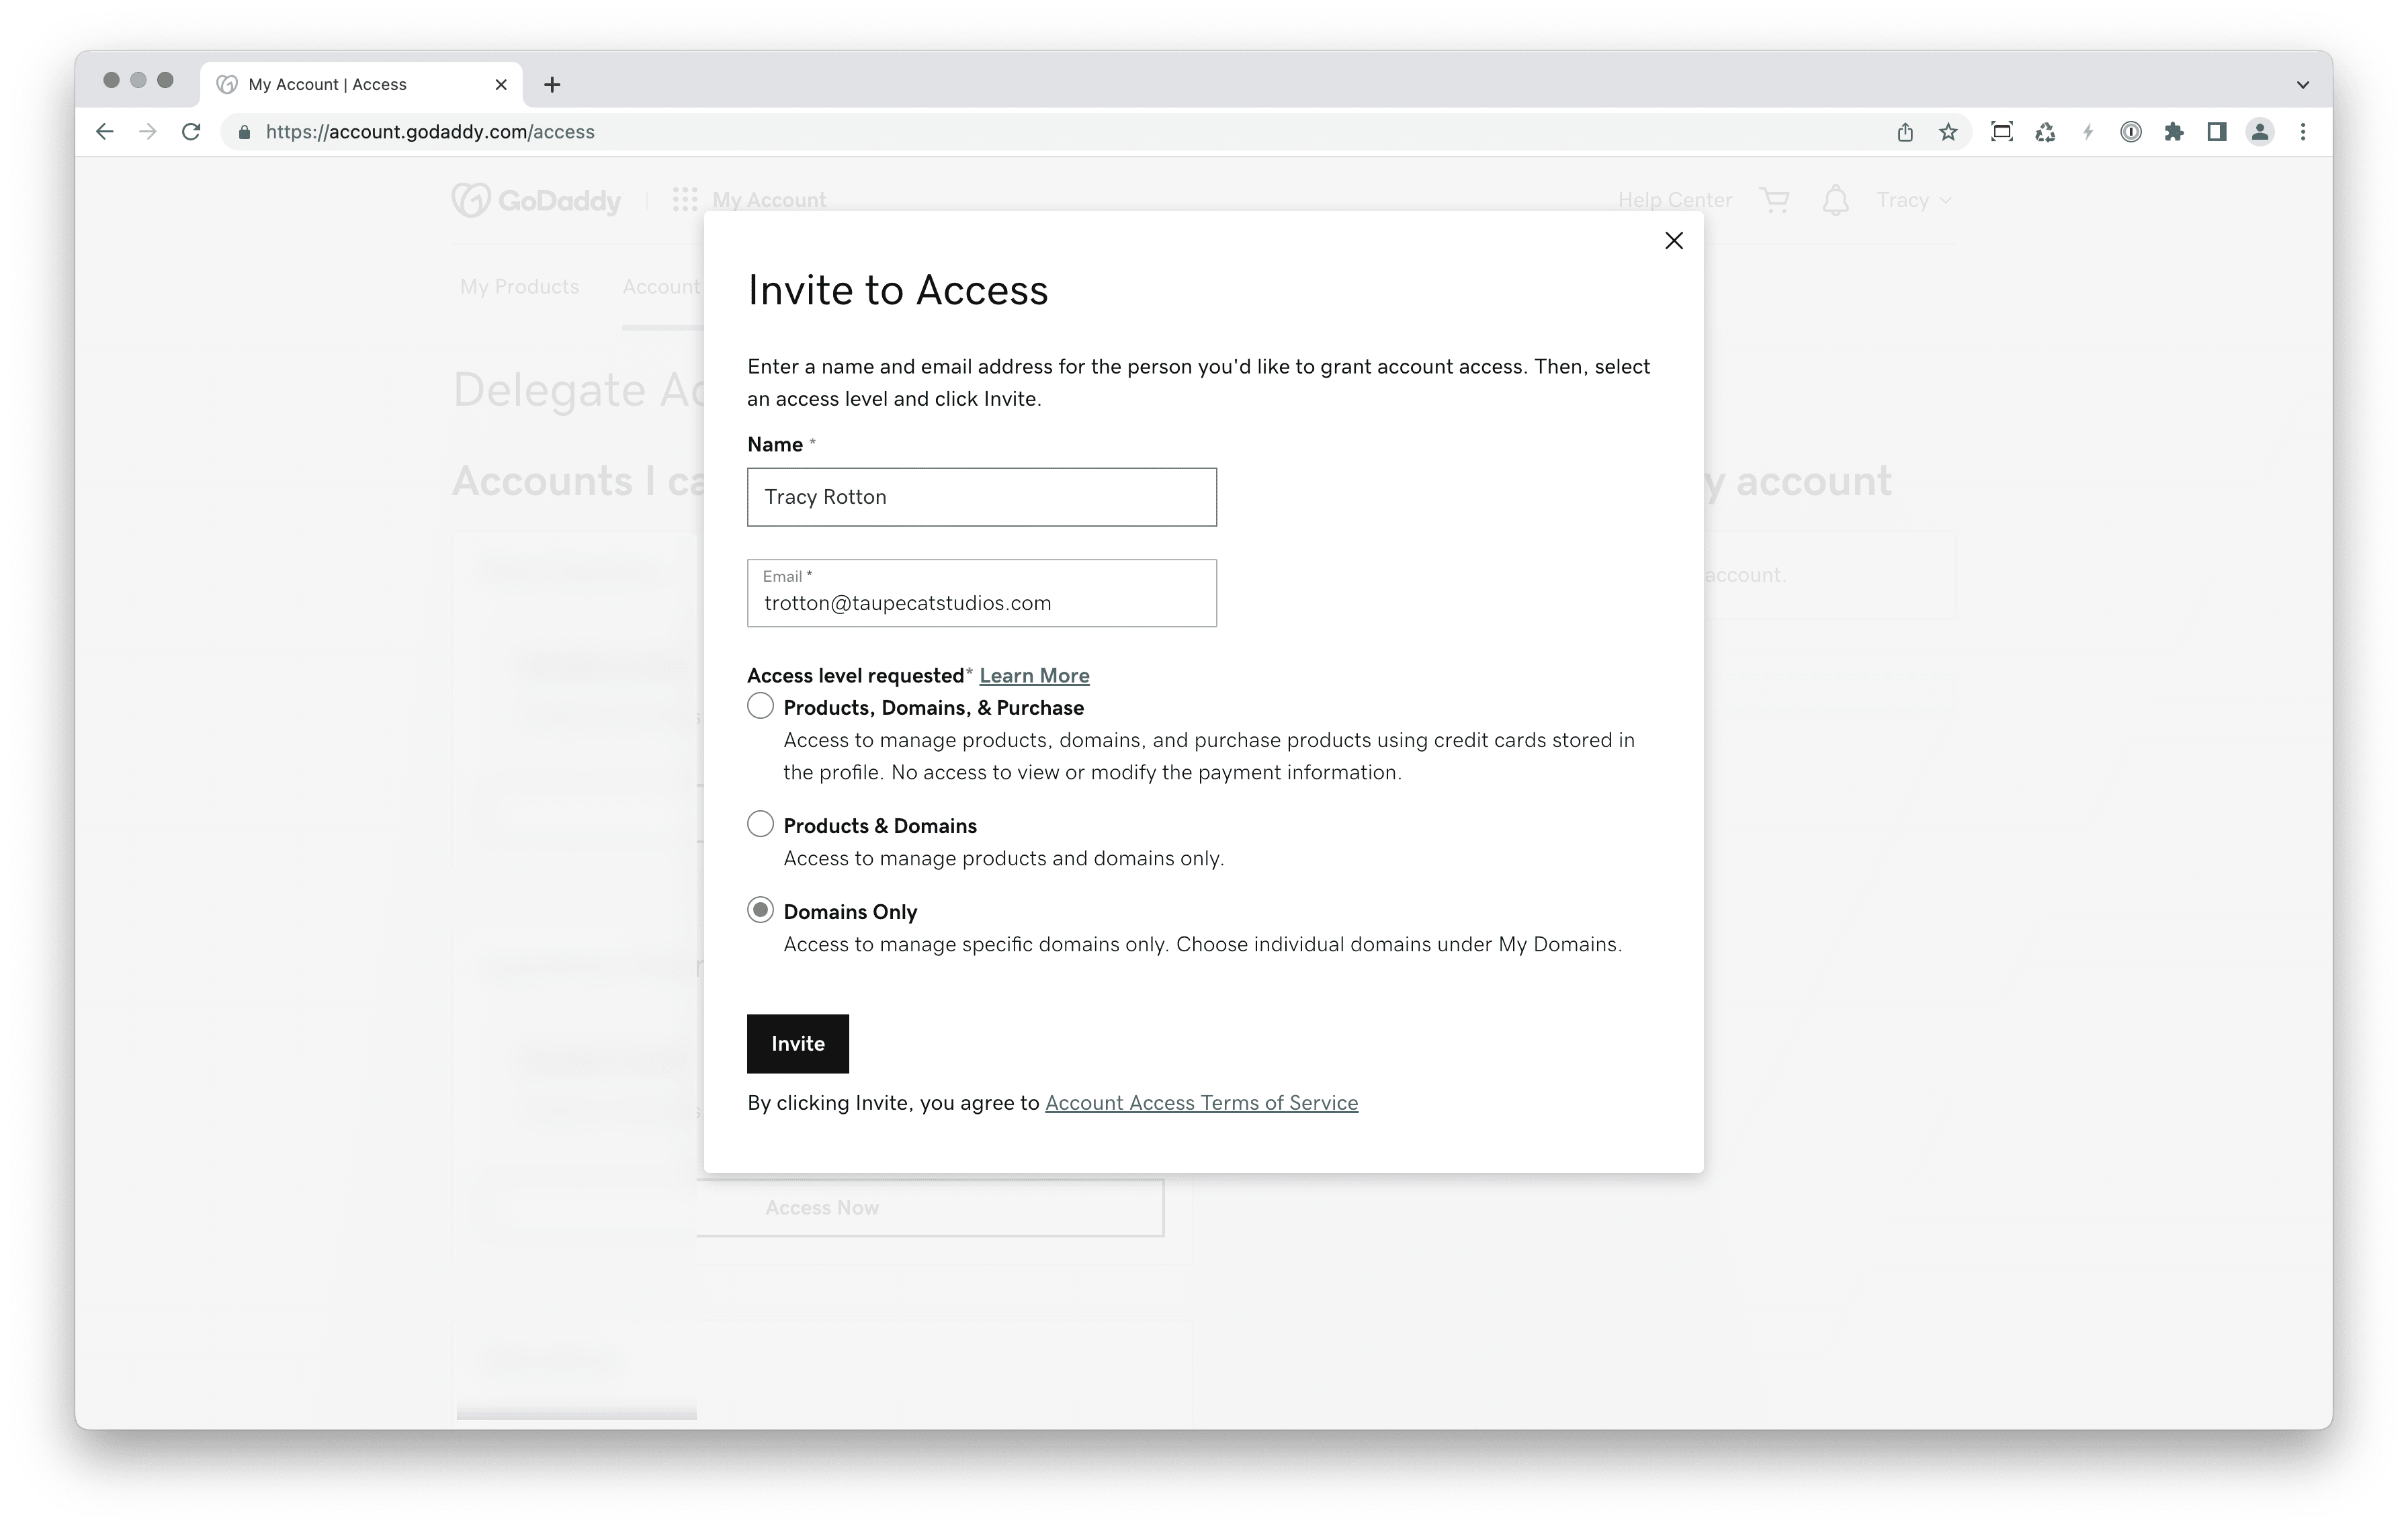
Then fill in their email address, and then select the level of access that that person should have. Usually, “Domains Only” should be sufficient, or “Products & Domains”, and if there is more access that is needed, that can be adjusted later.
Once you click on the “Invite” button, the person to whom you are granting access will receive an email. They will then have to click on the “Accept” in that email and then they will be a delegate to your account.
For more information on GoDaddy’s delegate access feature, check out their help page.